
I saw the idea for this activity in a library book and, to be honest, I didn't expect it to be that big of a deal (or even work, if I'm still being honest). But to my surprise, it actually delivered. I think I suffer from Pinterest Fail PTSD.
Singing Spoons is a fun way to show kids how volume and pitch change depending on whether sound waves are traveling through the air or through a solid, similar to the way a stethoscope works.
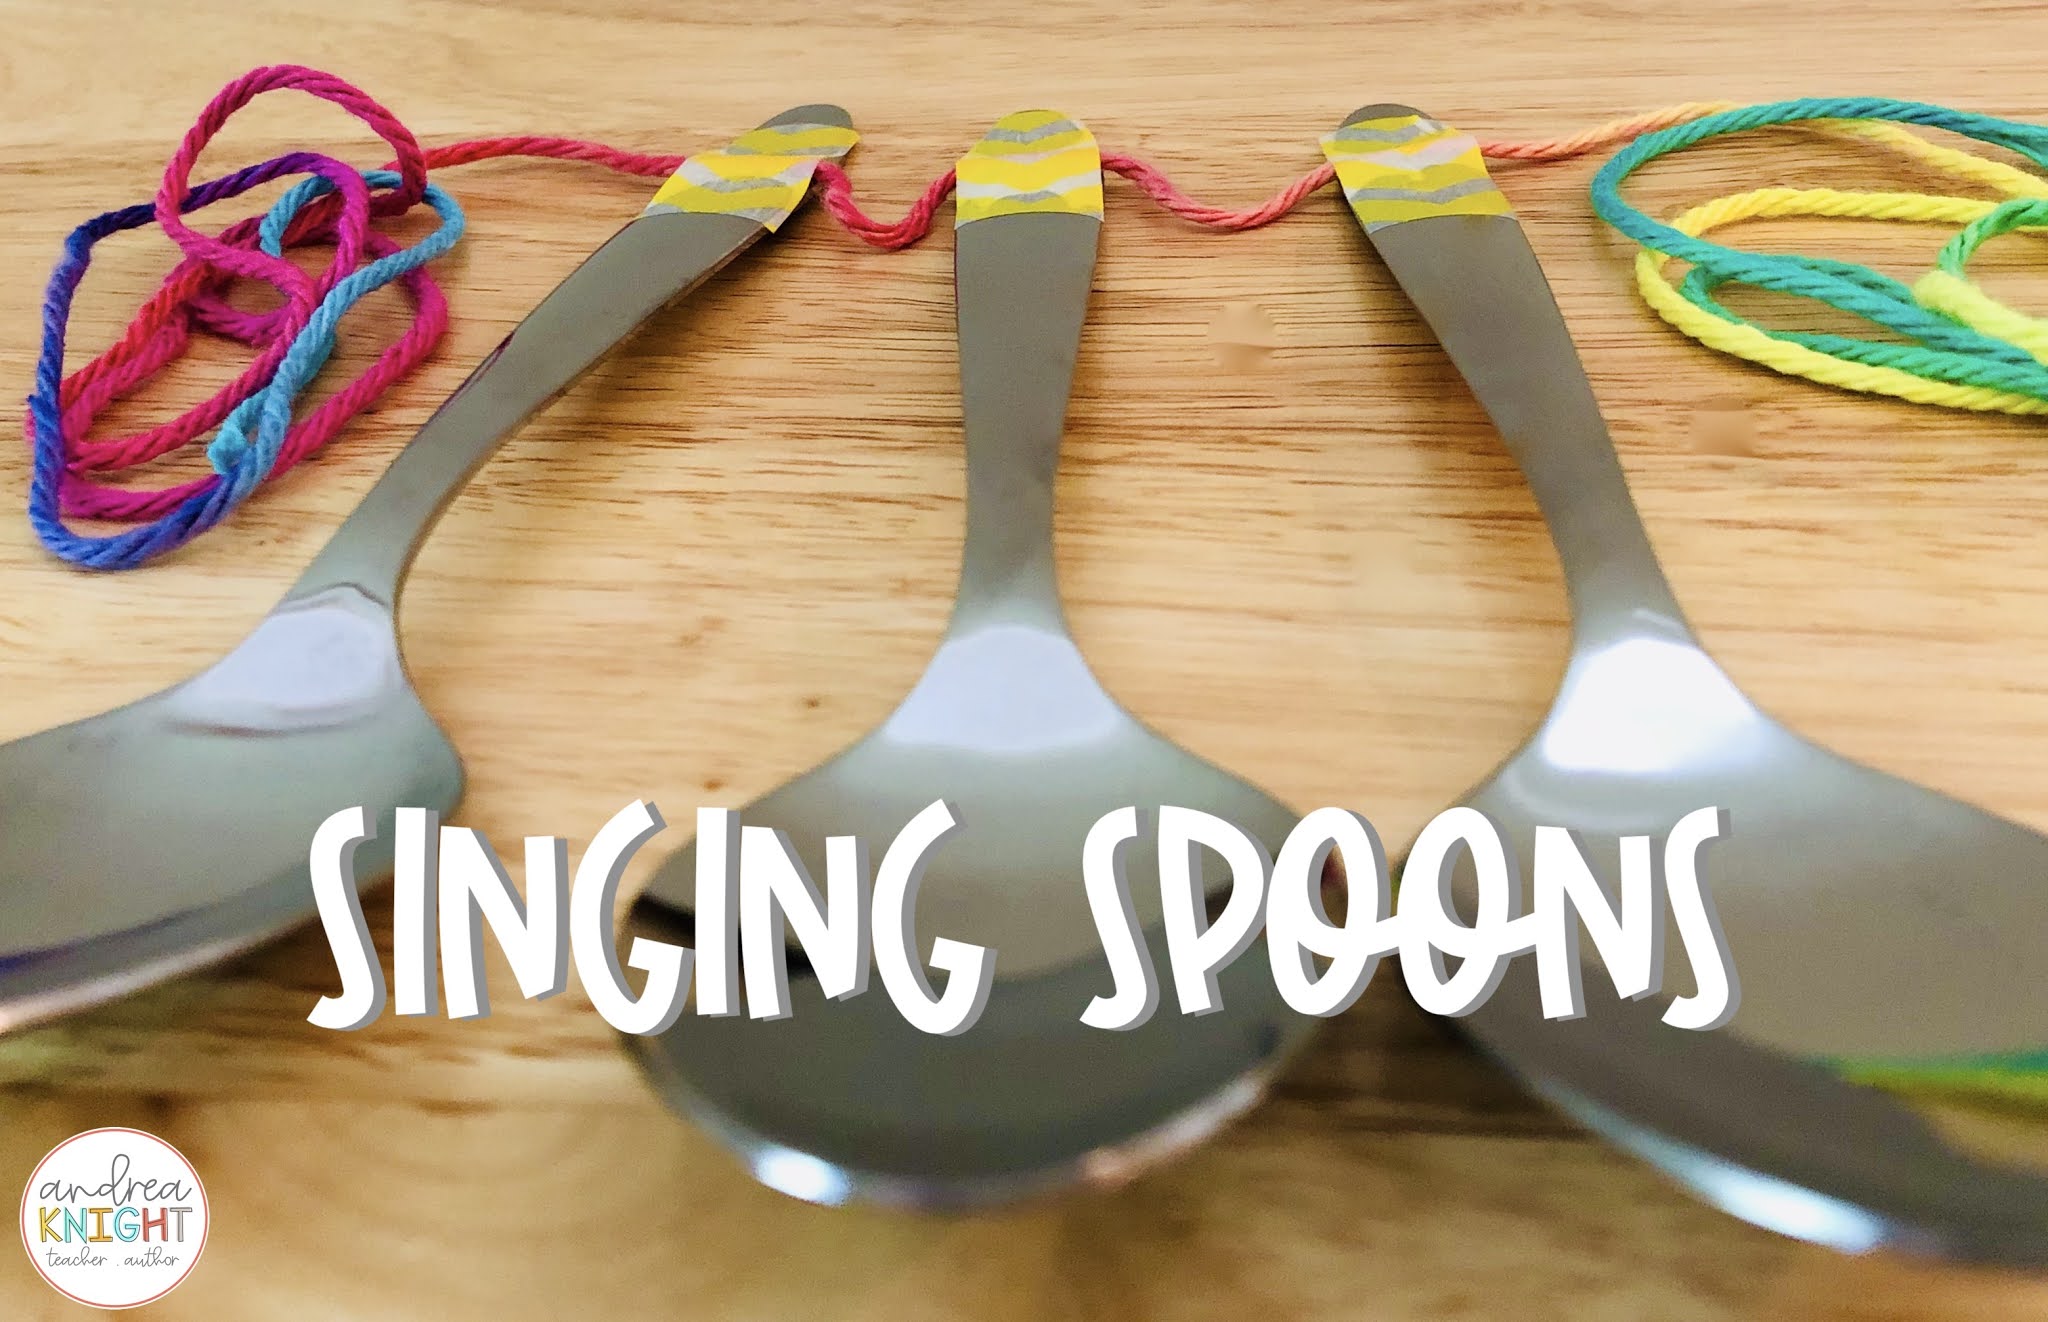
It's a pretty simple set-up. Using tape, connect three metal spoons to a piece of string. Swing the spoons so they collide with each other and notice the sound they make. Then, wrap the ends of the string around your fingers as if you're going to floss your teeth, but place the yarn-wrapped fingers in your ears (again, think of a stethoscope). Swing the spoons again and notice how the pitch and volume change.

This science activity can easily be done without the sheets above, but I like reading procedural and informational texts with my students and I also like having a place for them to record their own ideas during investigations.

Hands down, the most satisfying part of planning this unit was finally engineering a harmonica that works! I'm not exaggerating when I tell you how much we were geeking over this one... maybe because it was our third attempt. But that's the nature of science, right? In the one pictured above, changing the distance between the purple straws will change the pitch of the sound... shorten the gap and the pitch will rise. Spread them back out and the sound will become lower. It's all about vibrations and sound waves.

And the bee?💛 If you swing it like a lasso above your head, it really does buzz! It's a fun way to teach children that vibrations cause sound.

Making a sound wave model takes some time, but the wow factor can't be denied! You only need three things to make your model: duct tape, wooden skewers, and clay. (NOTE: To save time, we built ours using jellybeans, but I think the weight of the clay would provide an even better result. If you use clay, roll the balls to roughly the size of a large grape.)

You can find construction directions and step-by-step photos in the planning resource below.👇

If you're planning a unit on light and sound and need a few more ideas for your lessons, check out this Pinterest board: Light and Sound Science. You'll find so many great ways to support your instruction with videos, books, integrated projects, and more.

You might enjoy this related blog post: The Science of Light.
Happy teaching!
No comments:
Post a Comment